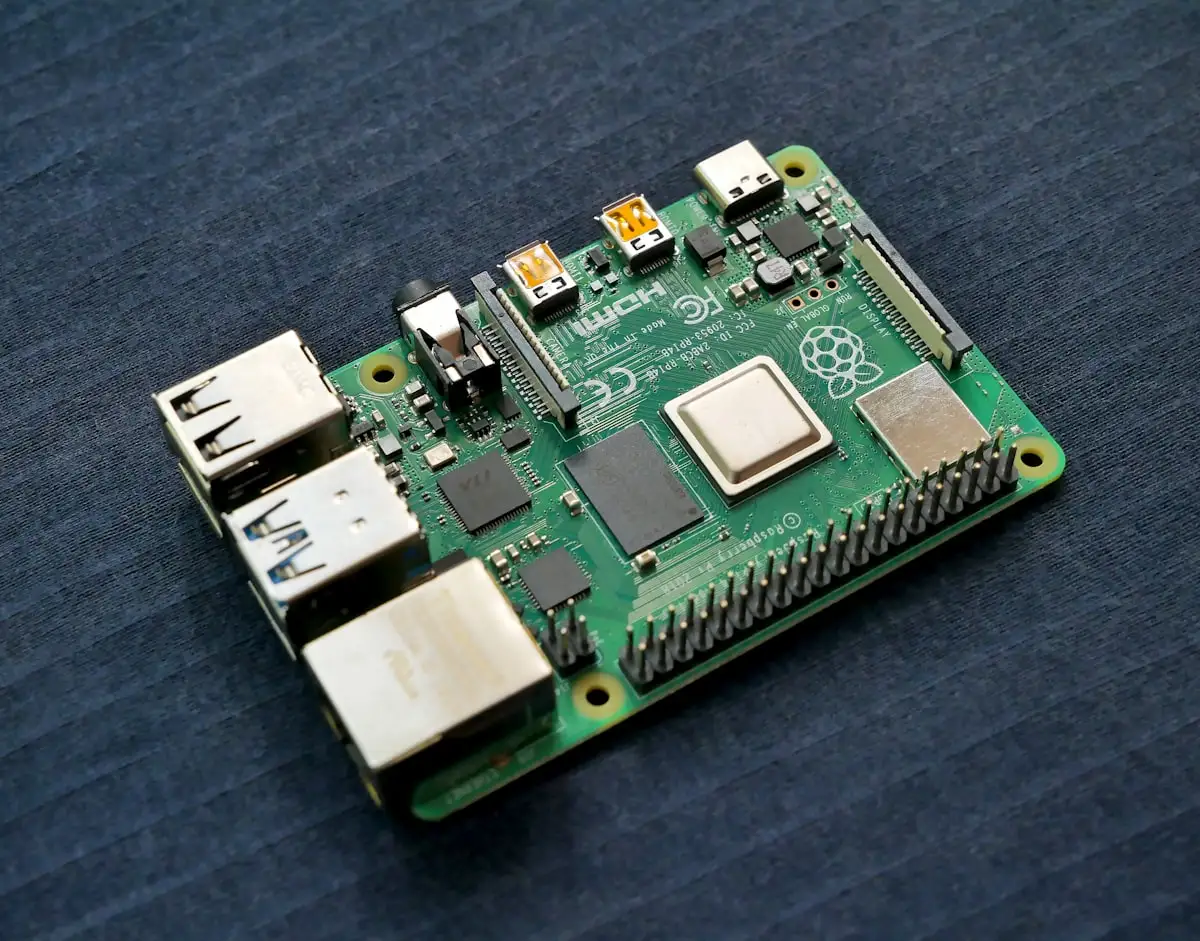
A Raspberry Pi sitting in your living room can be a VPN server. Not a theoretical one - a real one you connect your phone to from a café, tunnelling back through your own home connection.
PiVPN is a set of shell scripts that sets this up with one command. The interesting part is not the install, which takes five minutes. It is the two questions nobody asks first: whether your internet connection can host a server at all, and what happens when you start handing profiles to other people.
Let's answer those first, because one of them will stop about half of readers in Asia before they buy anything.
Before you start: can your connection even do this?
A home VPN server needs to be reachable from the internet. Two things commonly make that impossible.
CGNAT
Many ISPs - very commonly in Vietnam, Thailand and across Southeast Asia - put residential customers behind Carrier-Grade NAT. You share one public IPv4 address with hundreds of other subscribers. There is no port to forward, because the port does not belong to you.
Check it in two minutes. In your router's admin page, find the WAN IP. Then look up your public IP at any "what is my IP" site. If they differ, you are behind CGNAT.
You can also spot it from the WAN address itself. If it falls in 100.64.0.0/10
- that is,
100.64.x.xthrough100.127.x.x- that is the range reserved specifically for CGNAT.
If you are behind CGNAT, your options are: ask your ISP for a public IP (often available for a small fee, sometimes on a business plan only), use IPv6 if your ISP provides real IPv6 addresses, or put the VPN on a cheap VPS instead of at home.
There is a fourth option that sidesteps port forwarding entirely. A Cloudflare Tunnel reaches a service at home over an outbound-only connection, so CGNAT stops mattering. It is a different trust model, and it exposes one service rather than joining you to the network - that post covers when each is the right tool.
Upload speed is your ceiling
When you connect to your home VPN and download something, that data travels out of your house. Your VPN download speed is capped by your home upload speed, which on most Asian residential plans is far lower than the download figure they advertise.
A 200/20 Mbps plan gives you a 20 Mbps VPN. Fine for browsing and reaching your home network. Not fine for streaming 4K to three people at once.
Which Pi, and why it matters
PiVPN can install either WireGuard or OpenVPN. Take WireGuard. It runs in the Linux kernel, while OpenVPN runs in userspace and is effectively single-threaded - on ARM chips that difference is large, not marginal.
The Pi model matters mostly because of the network interface:
| Model | Ethernet | Realistic ceiling |
|---|---|---|
| Pi 3 Model B | 100 Mbit, over USB 2.0 | ~90 Mbps, shared with USB |
| Pi 3 Model B+ | Gigabit NIC, still on USB 2.0 | ~300 Mbps bus limit |
| Pi 4 | True gigabit | Faster than most home uplinks |
| Pi 5 | True gigabit, much faster CPU | Faster than most home uplinks |
In practice this table rarely decides anything, because your home upload speed is almost always the tighter constraint. A Pi 3 is genuinely enough for a home VPN on a typical residential line. Buy a Pi 5 because you want it for other projects, not because a VPN needs it.
Use Raspberry Pi OS Lite (64-bit). No desktop - this box has one job. Give it a static IP on your LAN, or a DHCP reservation on the router, so the port forward does not break when it reboots.
Install
SSH into the Pi, make sure it is current, then run the installer:
sudo apt update && sudo apt full-upgrade -y
curl -L https://install.pivpn.io | bash
Piping a URL into bash deserves a look first. If that makes you uneasy - it
reasonably should - download and read it before running:
curl -L https://install.pivpn.io -o pivpn-install.sh
less pivpn-install.sh
bash pivpn-install.sh
The installer walks you through a menu. The answers that matter:
- Protocol: WireGuard.
- Port: the default is
51820/UDP. Any port works as long as you forward the same one on your router. - DNS: whatever you pick becomes your clients' resolver. If you already run Pi-hole on the same Pi, point it at that and get ad blocking on your phone wherever you are - this is the single best reason to run PiVPN at home.
- Public IP or DNS name: this is the one to get right. Read on.
One honest note: PiVPN is now maintained on a best-effort basis by volunteers. It still works well and is widely used, but do not expect a rapid response if something breaks.
Dynamic DNS, because your IP will change
Most residential connections get a dynamic public IP. When it changes, every client profile pointing at the old address stops working.
So during the install, when it asks whether clients should connect by IP or by DNS name, choose the DNS name and give it a dynamic DNS hostname - DuckDNS, No-IP, Cloudflare with a small update script, whatever you prefer. Then run an updater on the Pi so the hostname follows your IP.
Doing this at install time rewrites nothing later. Skipping it means reissuing every profile the first time your ISP renews your lease.
Forward the port
On your router, forward the port you chose (51820/UDP by default) to the Pi's
LAN address. UDP, not TCP - WireGuard does not use TCP at all.
That is the only port you should expose. Do not forward SSH.
The Pi is now a public-facing machine, and everything about keeping one patched and locked down applies to it exactly as it does to a rented VPS. The hardening checklist is worth thirty minutes here.
Create a profile per person
Never reuse one profile across people. Separate profiles are what make it possible to cut off one person without disturbing anyone else:
pivpn add            # prompts for a name, writes <name>.conf
pivpn list           # or: pivpn -l
pivpn clients        # or: pivpn -c - who is connected right now
pivpn -qr            # QR code to import on a phone
pivpn -r             # remove a client
pivpn -bk            # back up configs and profiles
Profiles land in configs/ in your home directory. Copies also live in
/etc/wireguard/configs, readable only by root.
For phones, pivpn -qr is the easy path: pick the client, scan the code in the
WireGuard app, done. Nothing sensitive touches a messaging app.
Sharing profiles safely
This is the part to be careful with, and it is worth being blunt about why.
A profile is a credential, not a link. The .conf file contains a private
key. Whoever holds it is on your VPN.
Their traffic leaves through your home IP. Everything anyone does on your VPN appears to come from your house, on the connection in your name. If someone you gave a profile to does something you would not do, it traces back to your line, not theirs. This is not a hypothetical legal concern; it is the whole reason to treat the guest list as short.
So:
- One named profile per person.
pivpn addwith their name, sopivpn -rlater removes exactly one person. - Deliver it out of band. QR code in person is best. Otherwise use an end-to-end encrypted messenger. Never email it, never put it in a shared drive, never post it in a group chat.
- Revoke when someone stops needing it.
pivpn -rtakes seconds. - Watch who is on it.
pivpn -clists live connections. - Remember the bandwidth is shared. Every guest is using your upload.
Why not share with a public community
Posting a profile in a public group is a genuinely bad idea, and it is worth saying plainly rather than leaving it implied:
- Anyone who reads that message - now or a year from now, in a chat log they forwarded - has permanent access until you notice and revoke.
- Their traffic is attributable to you.
- You cannot tell who is who. A public profile is shared by definition, so
pivpn -cshows connections you cannot match to a person.
A home VPN is for you, your family and a handful of people you would lend your house keys to. That is the shape of the tool. If you want to give lots of people a VPN, they should each be running their own, or using a service built to have many users behind one address.
Where a home VPN is the wrong tool
Running the Pi tells you exactly what a home VPN is good at, and what it is not.
It is very good for: reaching your home network from outside, using your own Pi-hole and DNS while travelling, keeping your traffic off hotel Wi-Fi, and appearing to be at home for things that expect you there.
It does not make you anonymous. Your home IP is one address, registered to your name, used by you. Every site sees a single stable identifier that resolves to a residential line in your city. That is more identifying than a commercial VPN, where thousands of people share one exit IP - the crowd is the mechanism.
It does not change your location. Your traffic exits at your house. That is the point, and it is also the limit.
The two things solve different problems, and a lot of guides blur them. Run the Pi when you want your own network in your pocket. Use a commercial VPN when you want to not be the only person behind an IP address. If that distinction is new, what a VPN actually does works through it from the start.
Cover photo by Vishnu Mohanan on Unsplash.